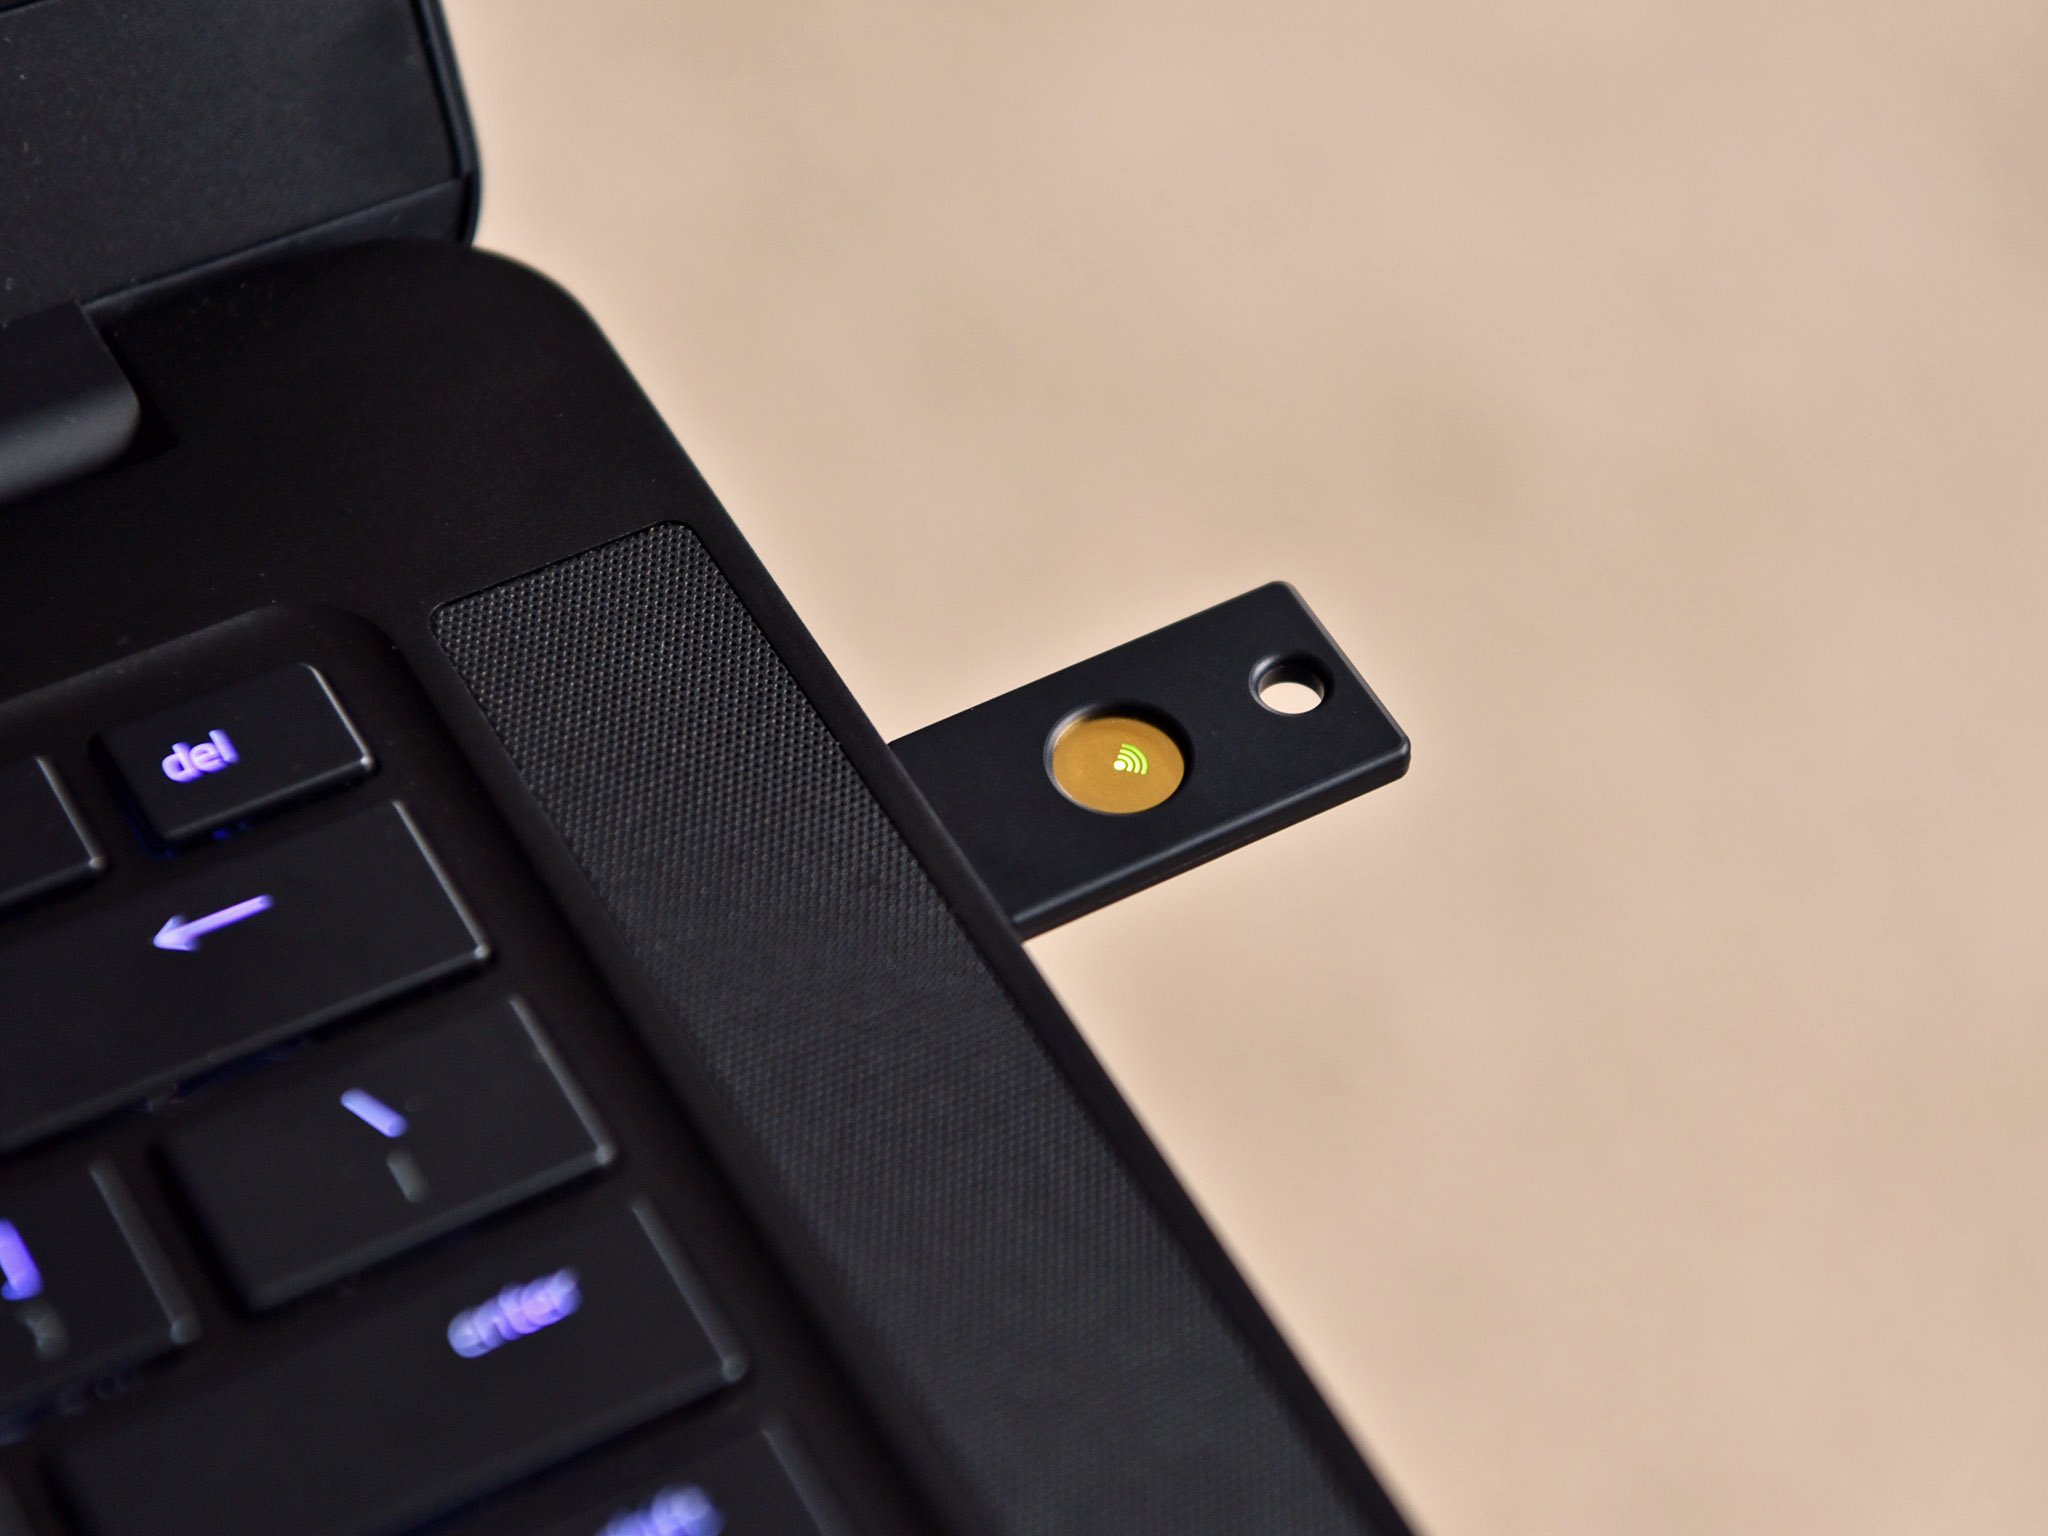
The first companion device for Windows Hello is now out. Here is how to use YubiKey with WIndows Hello and what it can — and cannot — do.
Microsoft’s bio-authentication system Windows Hello is one of the most demanded features users want with new PCs. Currently, the most popular are fingerprint readers, facial recognition using IR cameras, or iris scanners (for phones).
Another new Windows Hello method is just starting to come to market: companion devices. In theory, wearables like smartwatches or your phone could be a yet another way to validate your authenticity. YubiKey’s new app for Windows 10 fits into this category. Today, I’ll review it and show you how it works.
Contents
YubiKey – What it is
YubiKeys by Yubico are small USB devices that you carry around with you to add two-factor authentication (aka ‘2FA’) to various apps and services. For instance, if you use LastPass to store all your passwords you need one master password to unlock them all. That’s a huge security vulnerability because if someone managed to get that password, they would get all the rest too in your safe. By using a YubiKey, the attacker would physically need your USB YubiKey in addition to your password to unlock your virtual safe.
Sure, 2FA is an extra step. Besides typing in your password, you need to insert the YubiKey, wait a second, and press on the touch-to-sign metal area on the key. It’s super easy to use, but still a little more work. Nonetheless, when it comes to security that type of protection is wanted — and needed — by many.
Other services that work with YubiKey included Google, Dashlane, KeePass, Dropbox, Evernote, WordPress, GitHub, and other things like disk encryption.
There are three main types of YubiKeys on sale right now:
- YubiKey 4 (USB)
- YubiKey 4 Nano (USB)
- YubiKey NEO (USB and NFC)
They range in price from $40 for the regular USB versions to $50 for the USB and NFC variant. With NFC users can also use the YubiKey NEO for Android mobile phones and presumably any other system with NFC.
At CES 2017 Yubico announced YubiKey 4C, which is a USB Type-C device to keep up with modern PCs and computers. That version goes on sale in February 2017 for $50 as well.
YubiKey for Windows Hello
Recently, Yubico released a new app called YubiKey for Windows Hello in the Windows Store. The free app lets you link your YubiKey to your PC (not Microsoft Account) as a companion security device.
While not bio-authentication e.g. fingerprint or face recognition adding a YubiKey to your PC lets you unlock and log into the computer just by inserting the physical device into the PC.
So, why bother? Most PCs today including laptops and desktops do not have a built-in Windows Hello system. By using YubiKey, you can cheaply add this to your PC while also using it with your other apps and services listed above.
Once inserted into the PC the system is unlocked all the time. Removing the key lets it lock again. A YubiKey is small enough to be carried around on a key chain making it easy to use with your home PC or laptop.
Setting up
Setting up YubiKey is very easy once you have the physical device in your possession.
- Download and run YubiKey for Windows Hello from the Store
- Select Register
- After inserting the YubiKey into a USB Port select Continue
- Optionally name the YubiKey (good if you have multiple keys) and choose Continue
- Follow the prompts to authenticate your key with Windows Hello
- When done choose Finish
- That’s it. The whole process takes about 30 seconds.
Setting up on Windows 10 Pro or Enterprise
For those with a Windows 10 Home license, the above steps are all that is required to get YubiKey working with Windows Hello. If, however, you have Windows 10 Pro or Enterprise editions, you will need to edit the Local Security Policy to allow companion devices.
If you are unsure which version of Windows 10 you have only go to Settings > System > About and under Edition it should read as Windows 10 Home, Windows 10 Pro, or Windows 10 for Enterprise.
If you are on Windows 10 Pro or Enterprise, you can modify the system to allow companion devices for Windows Hello. Here is how according to Yubico:
- Open the Local Group Policy Editor. To do this, press [Windows key + R], and then type gpedit.msc.
- In the Local Group Policy Editor, from the top level Local Computer Policy, navigate to Computer Configuration > Administrative Templates > Windows Components > Microsoft Secondary Authentication Factor.
- In the right pane, click the link to Edit policy setting. (You can also double-click the setting to Allow companion device for secondary authentication.) The default state is Not configured.
[Source:- Windowscentral]

