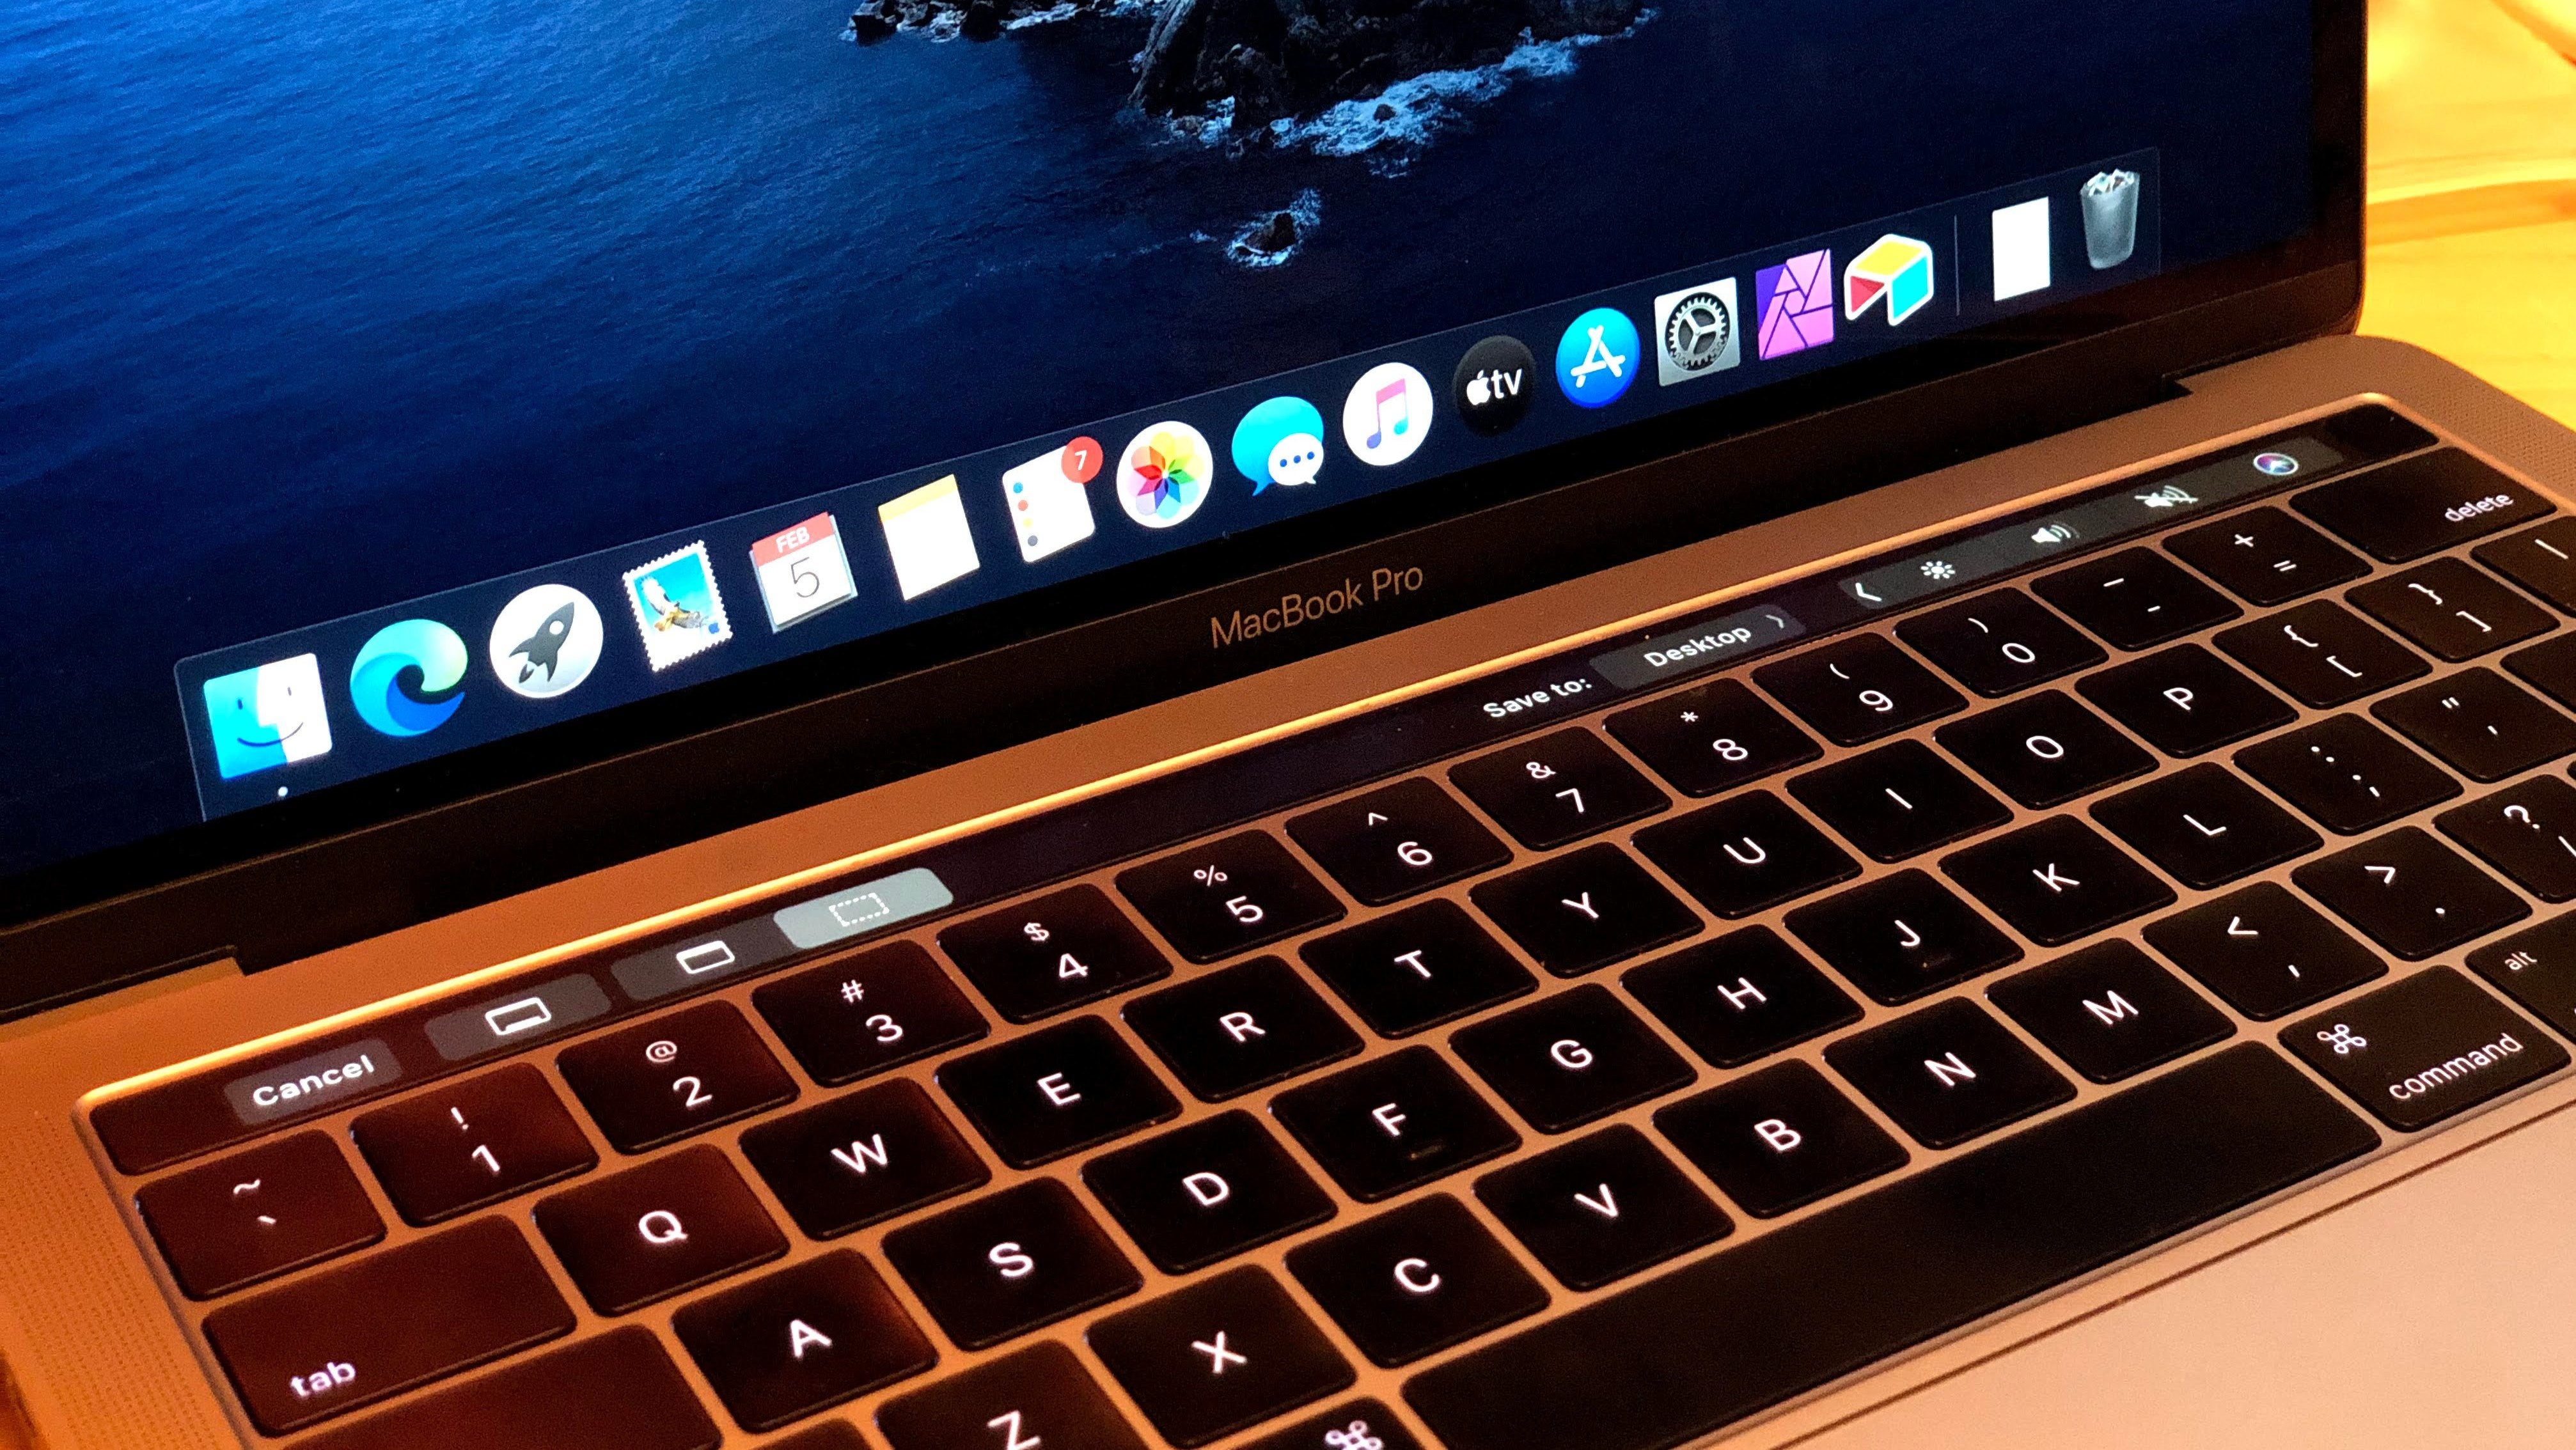
We’ve talked about some quick little hacks for macOS screenshots before—and, yes, I always have to look up which keyboard shortcut lets you capture windows with and without the fancy borders and drop shadows. But resident Lifehacker finance queen-turned-screenshot-master Lisa Rowan recently tipped me off to a little screen hack in macOS that I hadn’t previously know about. I now share this with you.
It’s so simple, you’ll wonder why you never noticed it before—unless everyone did notice it before and I’m just not wise to the way of screenshot shortcuts. Anyway, here’s the trick. When you’re using Command + Shift + 4 to draw a square around some part of your screen to take a screenshot, and you mess up and start it in the wrong spot, don’t give up. Instead, hold down the space bar and you’ll be able to move that rectangle anywhere you want. Release the space bar, and you can continue resizing it like before.
This is a lot more fun to see in action, so here goes:
But that’s not all.
If you hold down CTRL + Command + Shift + 4, then the screenshot you take will save to your clipboard, not your desktop. If you’re just looking to copy and paste something elsewhere, this saves you quite a few steps.
Jab Command + Shift + 4, and then release it while you’re still holding down on your trackpad or mouse, and you can then use Shift to lock the rectangle’s x- or y-axis. If you hold down Option/Alt instead, you’ll be able to expand and contract the rectangle from its center (not the corner, by default).
And if you want to get wild and only take a screen capture of your Touch Bar for whatever reason, that’s Command + Shift + 6.
Of course, you could also just hit Command + Shift + 5 in macOS Mojave or later to pull up its screenshot app, which gives you plenty of options for customizing what you’re taking a picture of, where the resulting file will save, and whether you’d like to enable a timer or not.
How to super-customize your screenshots via the macOS Terminal
Pull up Terminal and enter the following commands to change your screenshot settings universally (courtesy of Corey Ginnivan’s excellent thread):
defaults write com.apple.screencapture disable-shadow -bool true
—change “true” to “false” to disable the shadow on your screenshots forevermore
defaults write com.apple.screencapture type -string “png”
—change “png” to another file format (like “jpg” or pdf”) to save your screenshots as that type, rather than png
defaults write com.apple.screencapture location -string /Users/${HOME}/Desktop/
—Modify the location to change where macOS saves your screenshots
[“source=lifehacker”]

